
- Location information 8 Convenient Locations

How To Improve Energy Performance in Existing Attics
There’s more to insulating the attic than attic insulation; there’s venting, air sealing, and misery.
I have been doing energy audits for more than 10 years now. I really enjoy studying building science and solving problems for customers. The only issue is that the jobs are typically in the attic or basement—two miserable and difficult places to work.
When tightening an existing house, one of the first areas to improve is the ceiling plane along the thermal boundary. Cathedral ceilings are typically not accessible from above, so flat ceilings with vented attics above are where the work is located.
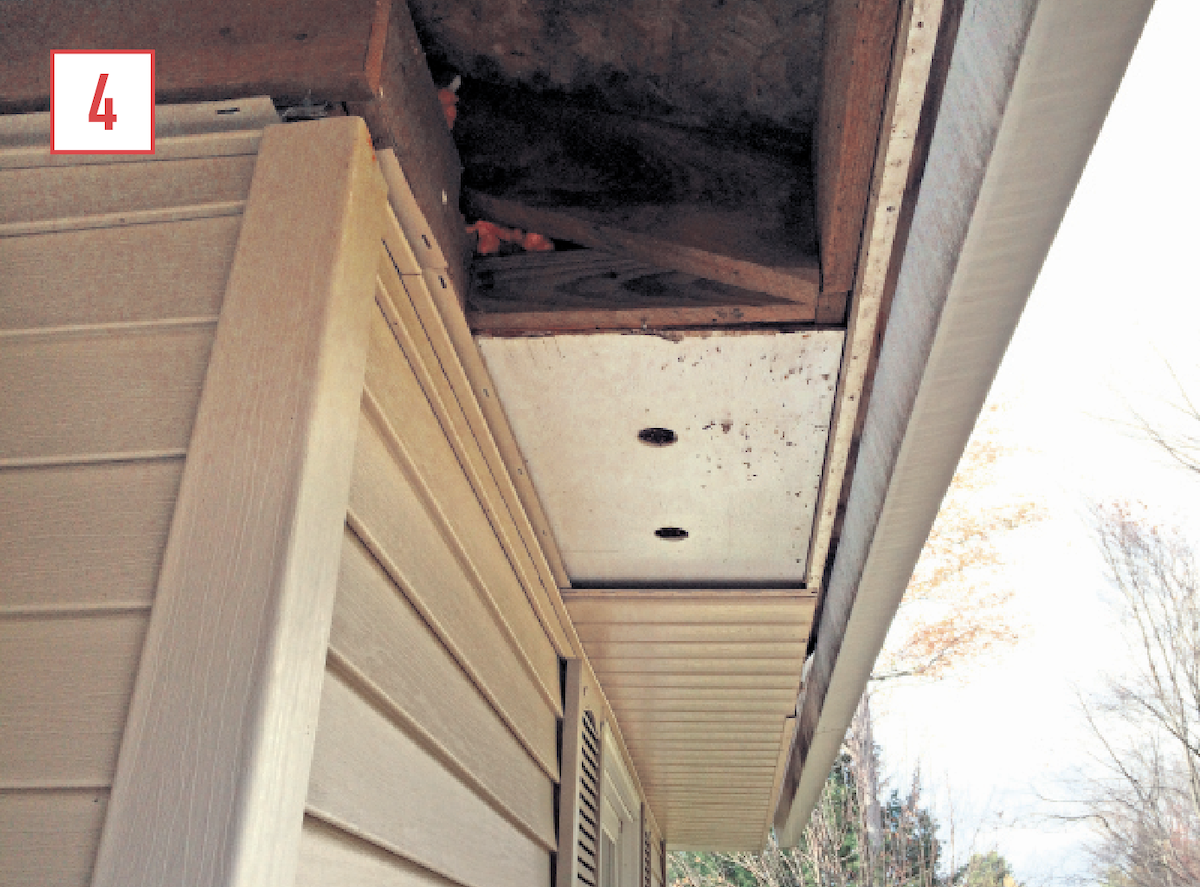
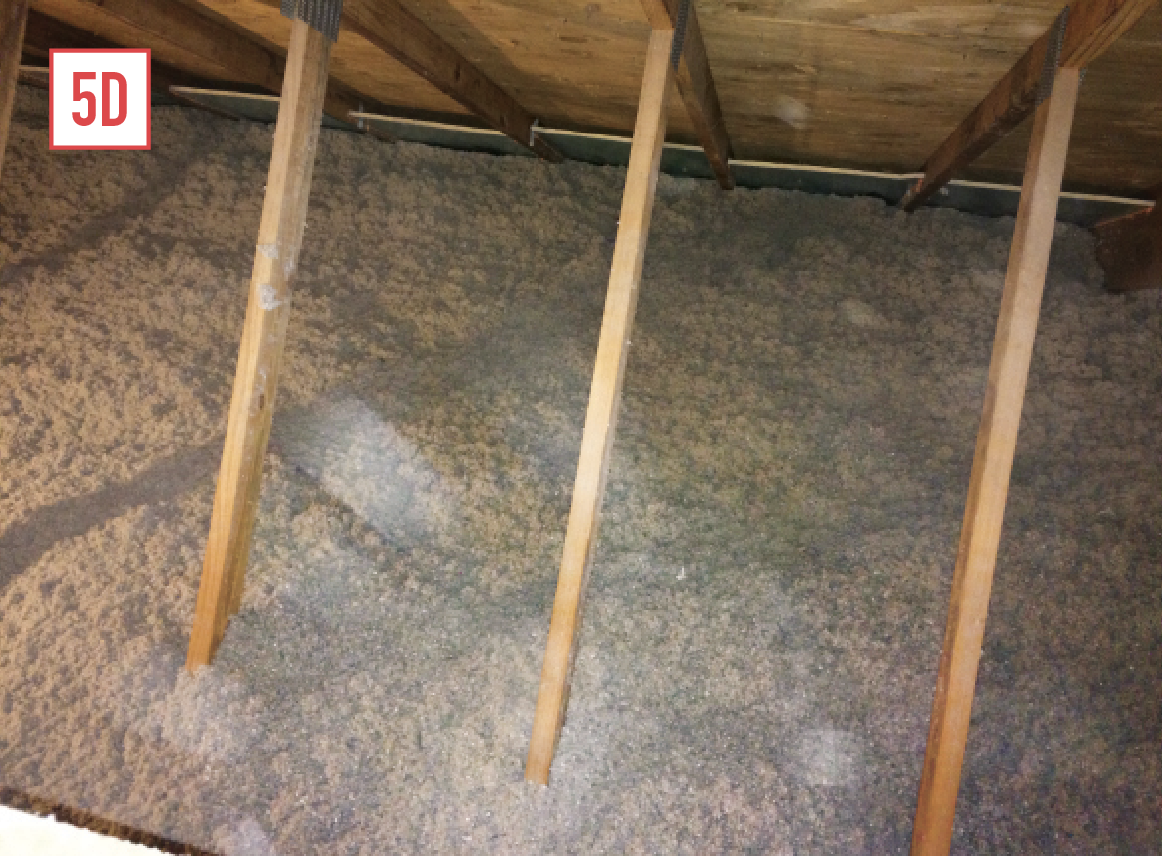
On paper, a drawing of a roof/wall ventilation scheme is easy to understand and looks easy to install, but in practice, it’s anything but. Working under a steeply-pitched roof is bad enough [1], but a low pitch is worse.
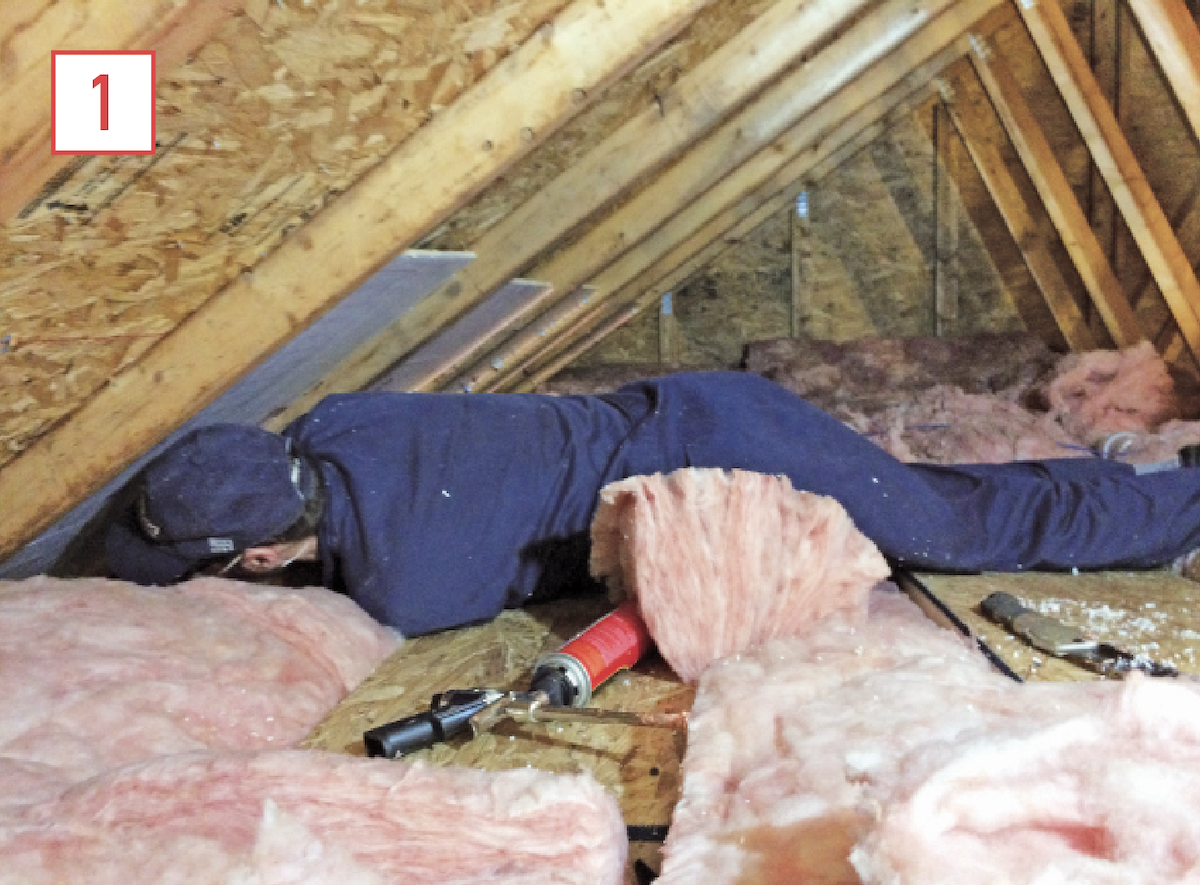
Lying on rips of plywood placed across ceiling joists and reaching deep into birdsmouth cavities to fish around for fibrous insulation—which is often pushing against your face, arms, and shoulders—is no picnic. It’s often hot and always dusty. Even in cold weather, you will be covered with sweat.
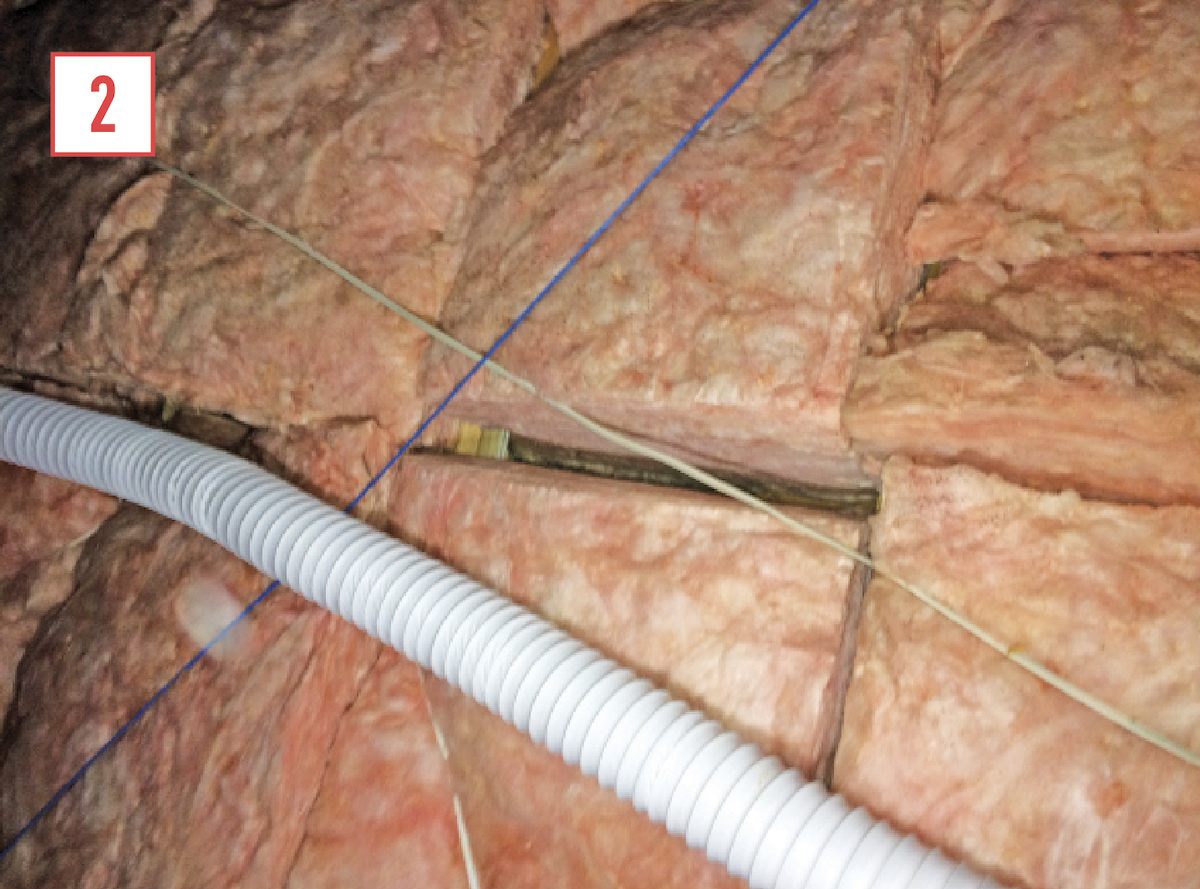
The R-value on the package of insulation is often compromised by the poor quality of the installation. Even if the original installation was properly done, older attics have probably had people crawling through them off and on for years. Many areas of the insulation will be packed down, torn up, or pulled out.
This gets complicated, given the many types of foam and the requirements of your climate zone, and is far beyond the scope of this article.
This is my general approach to making an unconditioned ventilated attic work best:
- Air seal all penetrations and possible leakage paths
- Insulate to at least the current energy code, not only to the proper R-value, but also to Grade I quality
- Ventilate the attic at the rate of 1 sq. ft. per 300 sq. ft. of attic floor space, balanced at ridge and soffit areas
Sealing the Ceiling
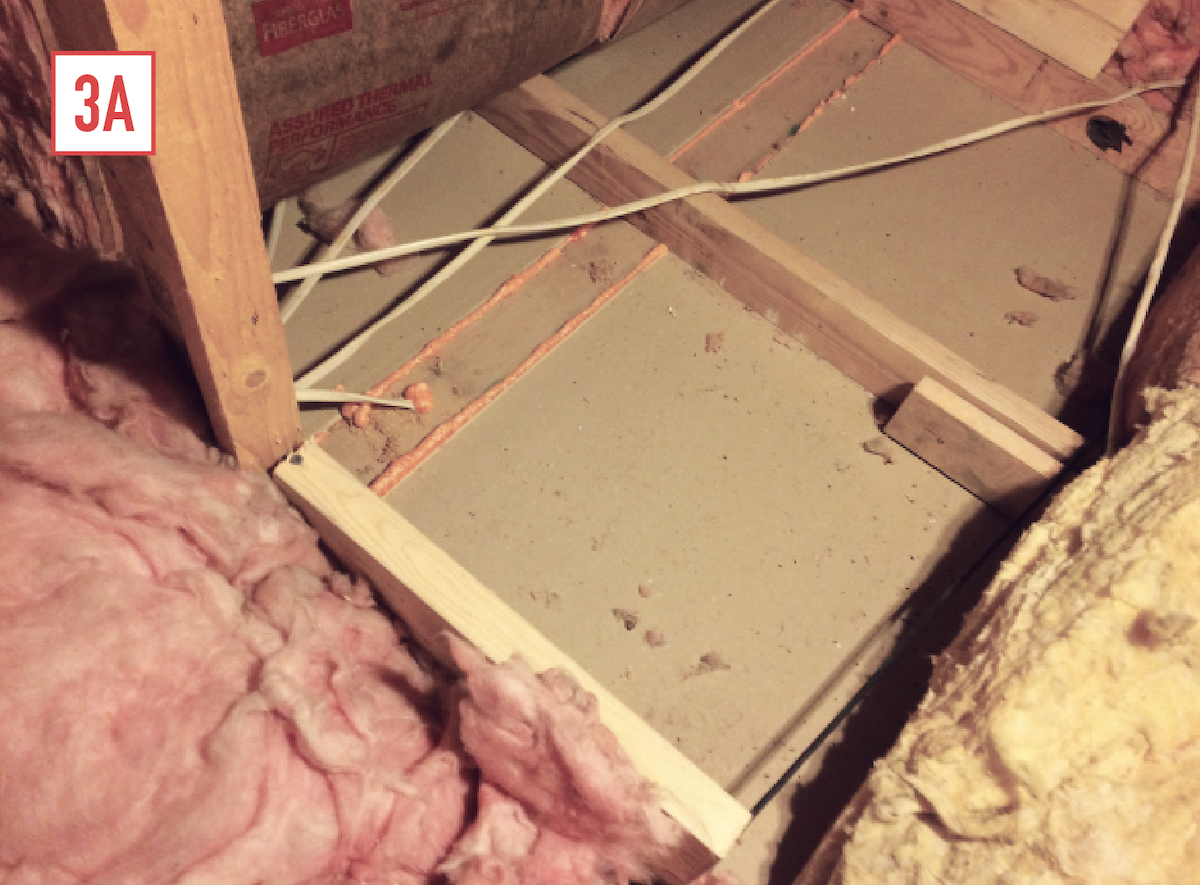
Before I add insulation, I seal the attic. There are a lot of holes, gaps, and cracks that leak a lot of air. I make a sketch of the floor plan and include all penetrations that I can see from below. I orient this plan with the attic access hole so that when I am in the attic, I have a map to help me find everything that needs air sealing [3].
Some holes that leak air are obvious, like attic hatches or folding attic steps. Others are harder to find, like the continuous gaps along partition walls.
Gaps around light boxes, bath fans, recessed lights, wires, and vent pipes may be small, but they add up to a lot of leakage.
Venting Improvements
I start by assessing the existing ventilation. I look at the ridge vent both from the inside and the outside. The main problems I look for are a very low-profile ridge vent outside and inadequate roof sheathing cut away inside. Both of these conditions obstruct air movement.
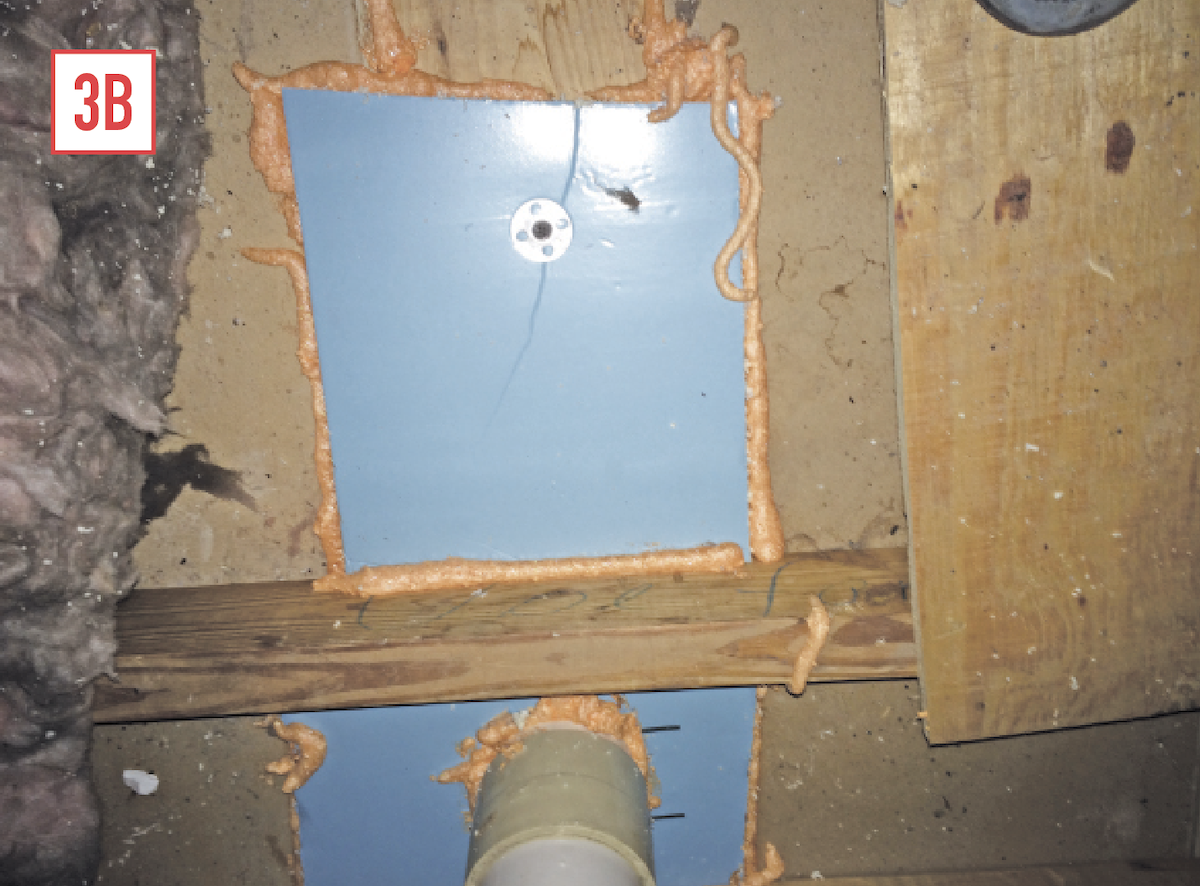
I also take a close look at the soffit vents. The IRC calls for 1 sq. ft. of ventilation for every 300 sq. ft. of attic space, balanced between the ridge and soffits, but this is seldom the case in real life [4]. I have seen some older homes with soffit vents installed directly over solid wood soffits―they look like they’re vented, but they’re not. Even when soffit vents are properly installed, there may not be enough of them, or the rafter bays may be blocked by insulation, or the ventilation space along the ridge may not be sufficient.
Even when soffits are vented there may not be enough vented area or the rafter bays may be blocked with lumber or insulation. In some cases, non-perforated vinyl siding soffits have been installed over existing wood soffits, cutting off airflow.
Fixing these problems is not easy work. My company only addresses the work that can be done from inside the attic, with the occasional exception to tear out and replace some soffits. If a ridge vent needs to be installed or improved, I recommend hiring a roofing contractor. I typically work alone, but if there’s enough room in the attic for two people, one person can prepare and feed materials to a second person, who installs them. Given the low headroom at the eaves, this would reduce the number of times someone had to crawl in and out of position in a rafter bay.
Step-by-Step Process
I concentrate on improving the ventilation at the eaves, where the rafters sit on the exterior walls. I want to open up this pathway so air can easily flow in and push warm, moist attic air out of the ridge. I also want to prevent this air movement from washing over or through the attic insulation, which reduces its effectiveness. The plan is to create a solid barrier that provides a 1- or 2-inch path over the insulation and also seals the end of the insulated area where it meets the top plate of the exterior wall.
To clear a workspace in front of the rafter birdsmouth, I pull out the last 18 inches of existing insulation in the attic floor. Rather than folding it back to replace later, I cut away the excess and save it to install in some other area of the attic after I have finished sealing. The uninsulated area in the floor will be filled with loose cellulose or fiberglass insulation blown against the new baffles. This does a much better job of insulating than just pushing the old insulation back into place in this very critical area of the attic.
Next, I custom cut a piece of rigid foam to the right width, which can vary from bay to bay, especially in older houses. The “right width” is one that is not so loose that it doesn’t stay in place while I seal the edges with caulk or foam, or so tight that it can’t be pushed into place. I crosscut these from 4 x 8 sheets so that the pieces are 4 ft. long. I typically use foil-faced isocyanurate or XPS, depending on price.
To provide airflow, the rigid foam has to be spaced off the roof sheathing. If a rafter bay already has one of those thin, narrow foam baffles installed, I just leave it there and use it as the spacer [5]. Otherwise, I create stop blocks for the foam panels by ripping 1½-inch-wide strips of foam and gluing them to the rafters on each side of the opening.
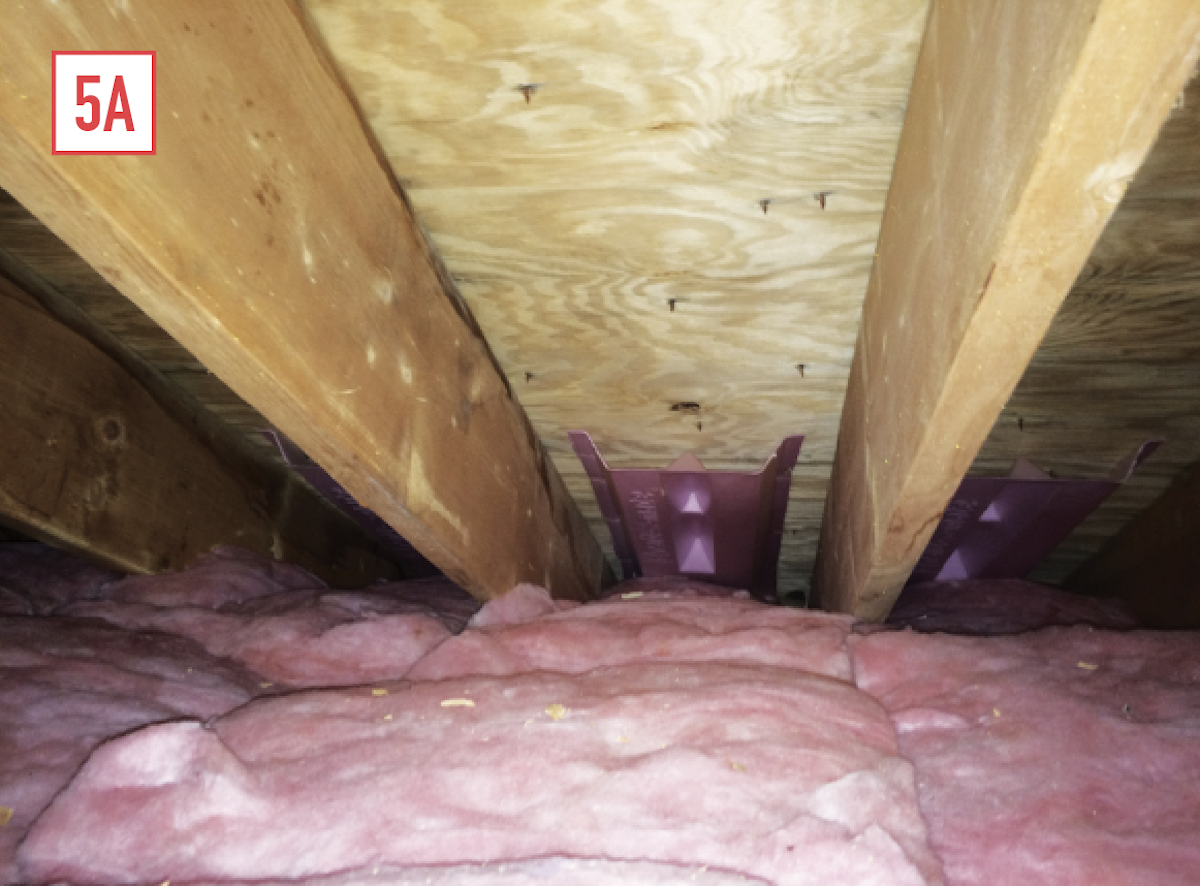
To provide airflow from the soffit vents, the baffles need to be spaced away from the roof sheathing. Any thin foam baffles already installed are left in place to serve as spacers.
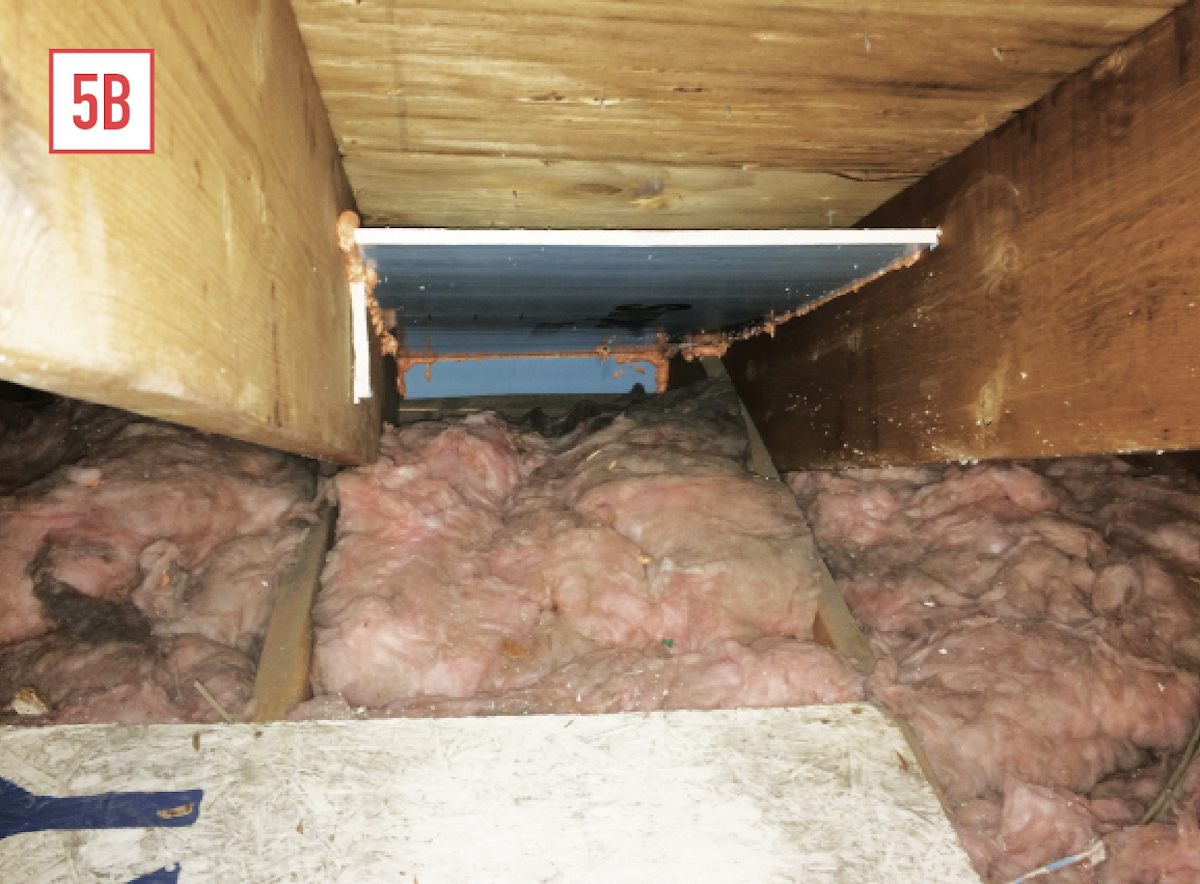
Otherwise, narrow strips of rigid foam are glued to the rafters to serve as spacers, and the foam panel is slid down into the rafter bay.
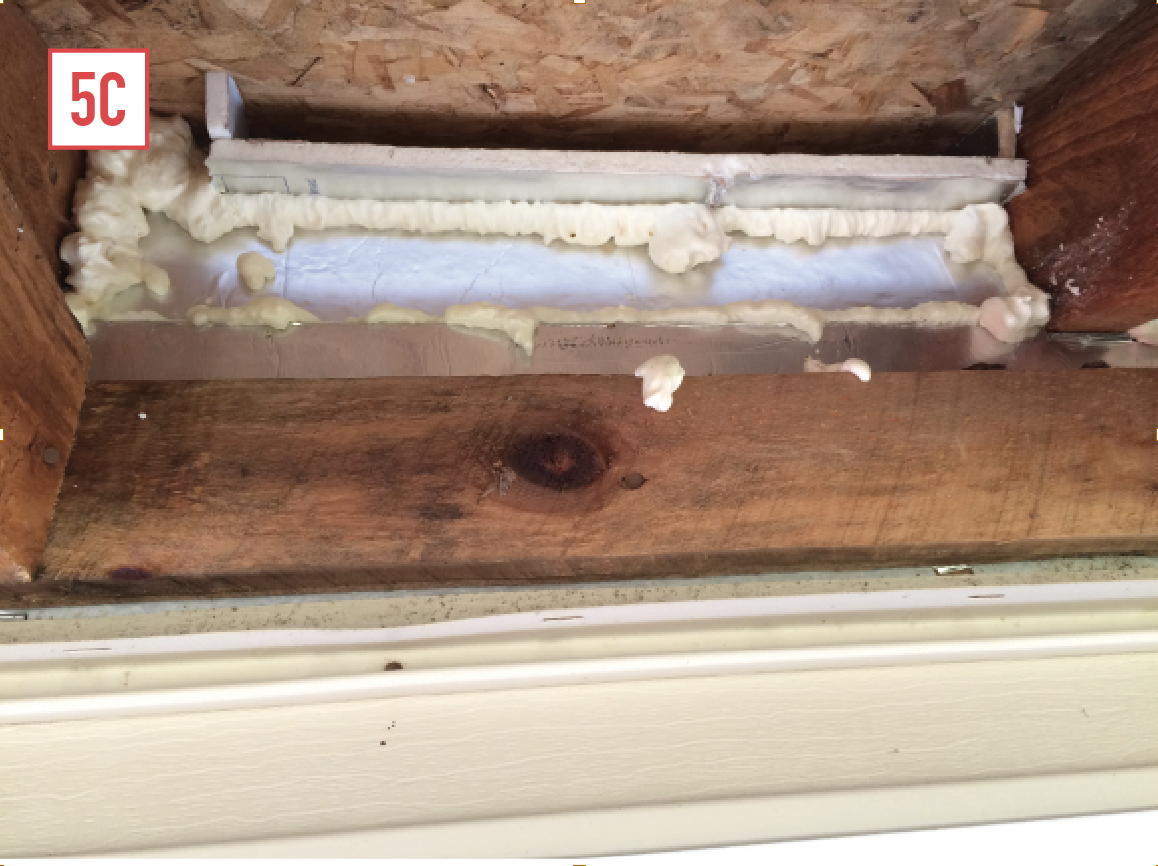
At the wall plate, the foam panel extends past the outside edge of the wall plate, and a narrow strip of foam cut from the top of the baffle is pressed into place from the attic side to serve as a draft stop. All edges and gaps are sealed with expanding foam to prevent air from blowing over or through the attic insulation.
After patching existing floor insulation, the final step is to add loose fill cellulose or fiberglass insulation on top.
With the spacers in place, I slide the foam panel between the rafters and push it down until it extends past the exterior edge of the wall plate. After measuring the vertical distance from the outside of the top plate to the bottom of the foam, I cut a strip of that width off the top end of the foam panel. Then I press this ripped piece (which may be as narrow as 3 inches) tightly into the cavity to close off the space where the insulation meets the outside of the wall.
Finally, I seal all the gaps along the edges of the foam panel, including the draft-stop at the wall plate. I use expanding foam because it easily fills in the larger gaps that I often have (hey, I’m a drywaller, not a furniture maker).
The foam panels open channels for air, but inadequate or blocked soffit vents will defeat their purpose. A good way to quickly see if there is an open path for air is to go into the attic during the day and shut off all lights. If you see light coming in above the foam baffles, then there is an open path. Very little light could mean that there are not enough vents in the soffit material or the vents are blocked. This may require retrofitting the soffit vents from the outside, which is beyond the scope of this article.
The process described above adds R-value, prevents wind washing, improves airflow, creates a dam to blow insulation against, and improves the performance of the insulation along the attic perimeter. I believe all these benefits make the struggle #WorthIt. After the ventilation, air sealing, and insulation work is done, the clients will save money on their energy bills, but that’s not how I sell it. What I sell is greatly reduced ice dam problems; no more moisture stains on ceilings or moldy attics.